program-schedule
layout:program-schedule
This is a basic content layout can be activated by applying the tag layout:program-schedule to a published basic subpage.
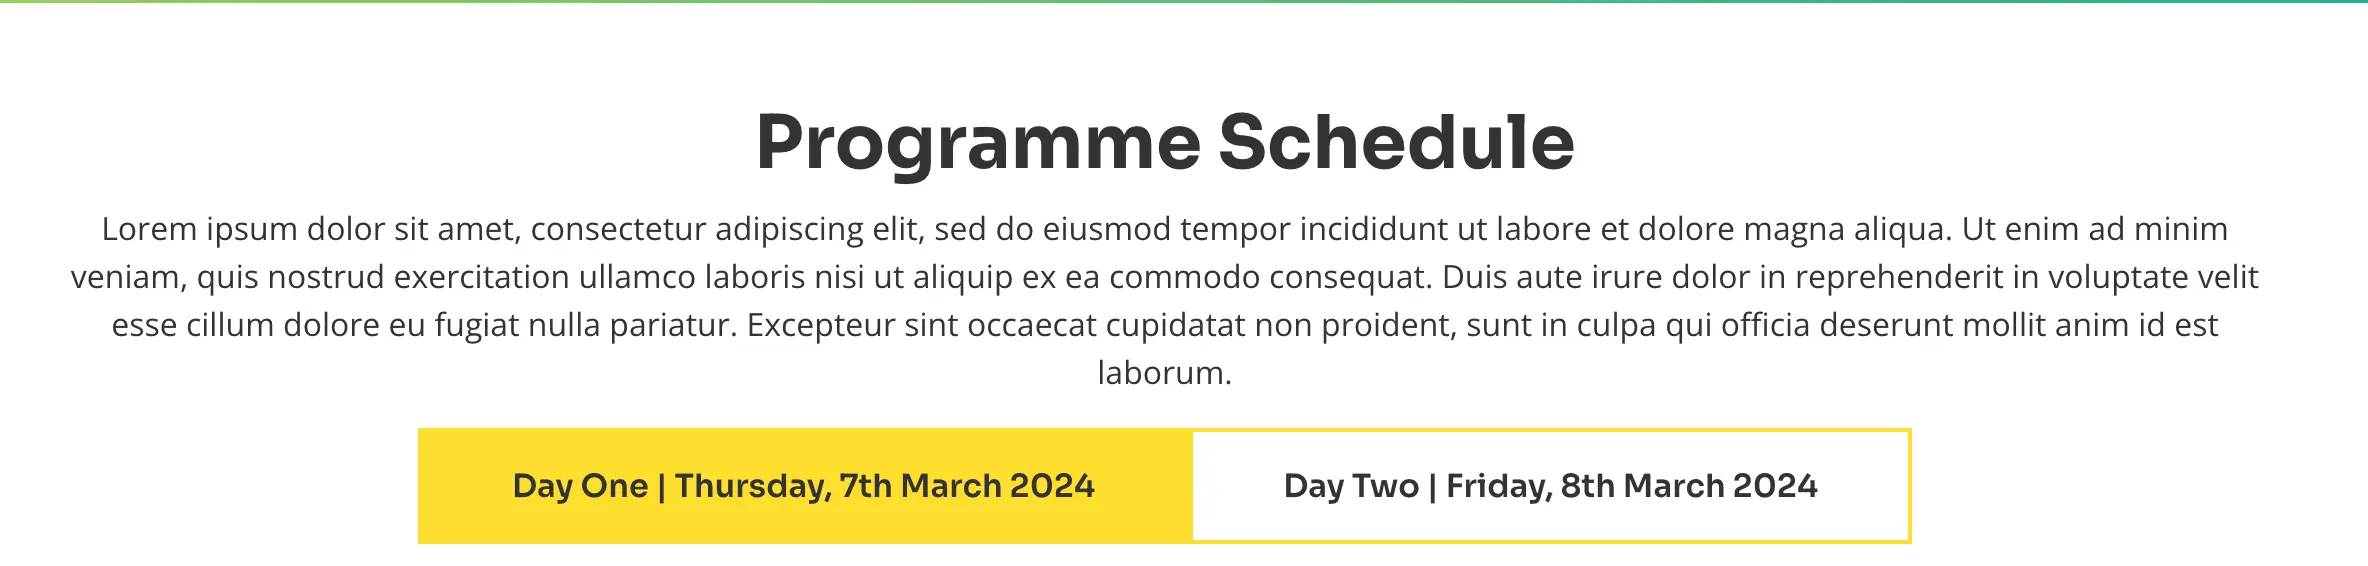
Headline and content for the subpage will be centered at the top of the module. Then for each subpage nested beneath a new schedule tab will be created - these were intended to be used to show different days or locations. See example below where the two subpages represent Day 1 and Day 2.
#Data Mappings
- Header = basic page headline
- Content = basic page content
- For each nested basic page a schedule "concertina tab" will be added.
- Tab Button Text = nested basic headline - can do 2 lines with pipe character. Example: "Day One | Thursday, 28th August 2025"
- for each nested basic page underneath the tab - a "program" will be added.
- Program Time = basic page headline
- Program Text = basic page content
- for each nested basic page underneath the program - a "session" tab will be added.
- Session Tab Button Text - basic page headline - Example: "YHI | Room 1"
- Session Text - basic page content
By default the first subpage (Day 1) will be expanded - but if multiple days exist - users can toggle click to toggle the visible day.
Then for each child subpage underneath the "tab" subpage - a schedule entry will be created. These should have the time of the event as the headline and the details in the content. These should all be subpage sorted to put them in order of start time. If two consecutive subpage sorted schedule entries have the same start time - the time will be hidden on any entry after the first - to help show that they occur at the same time.
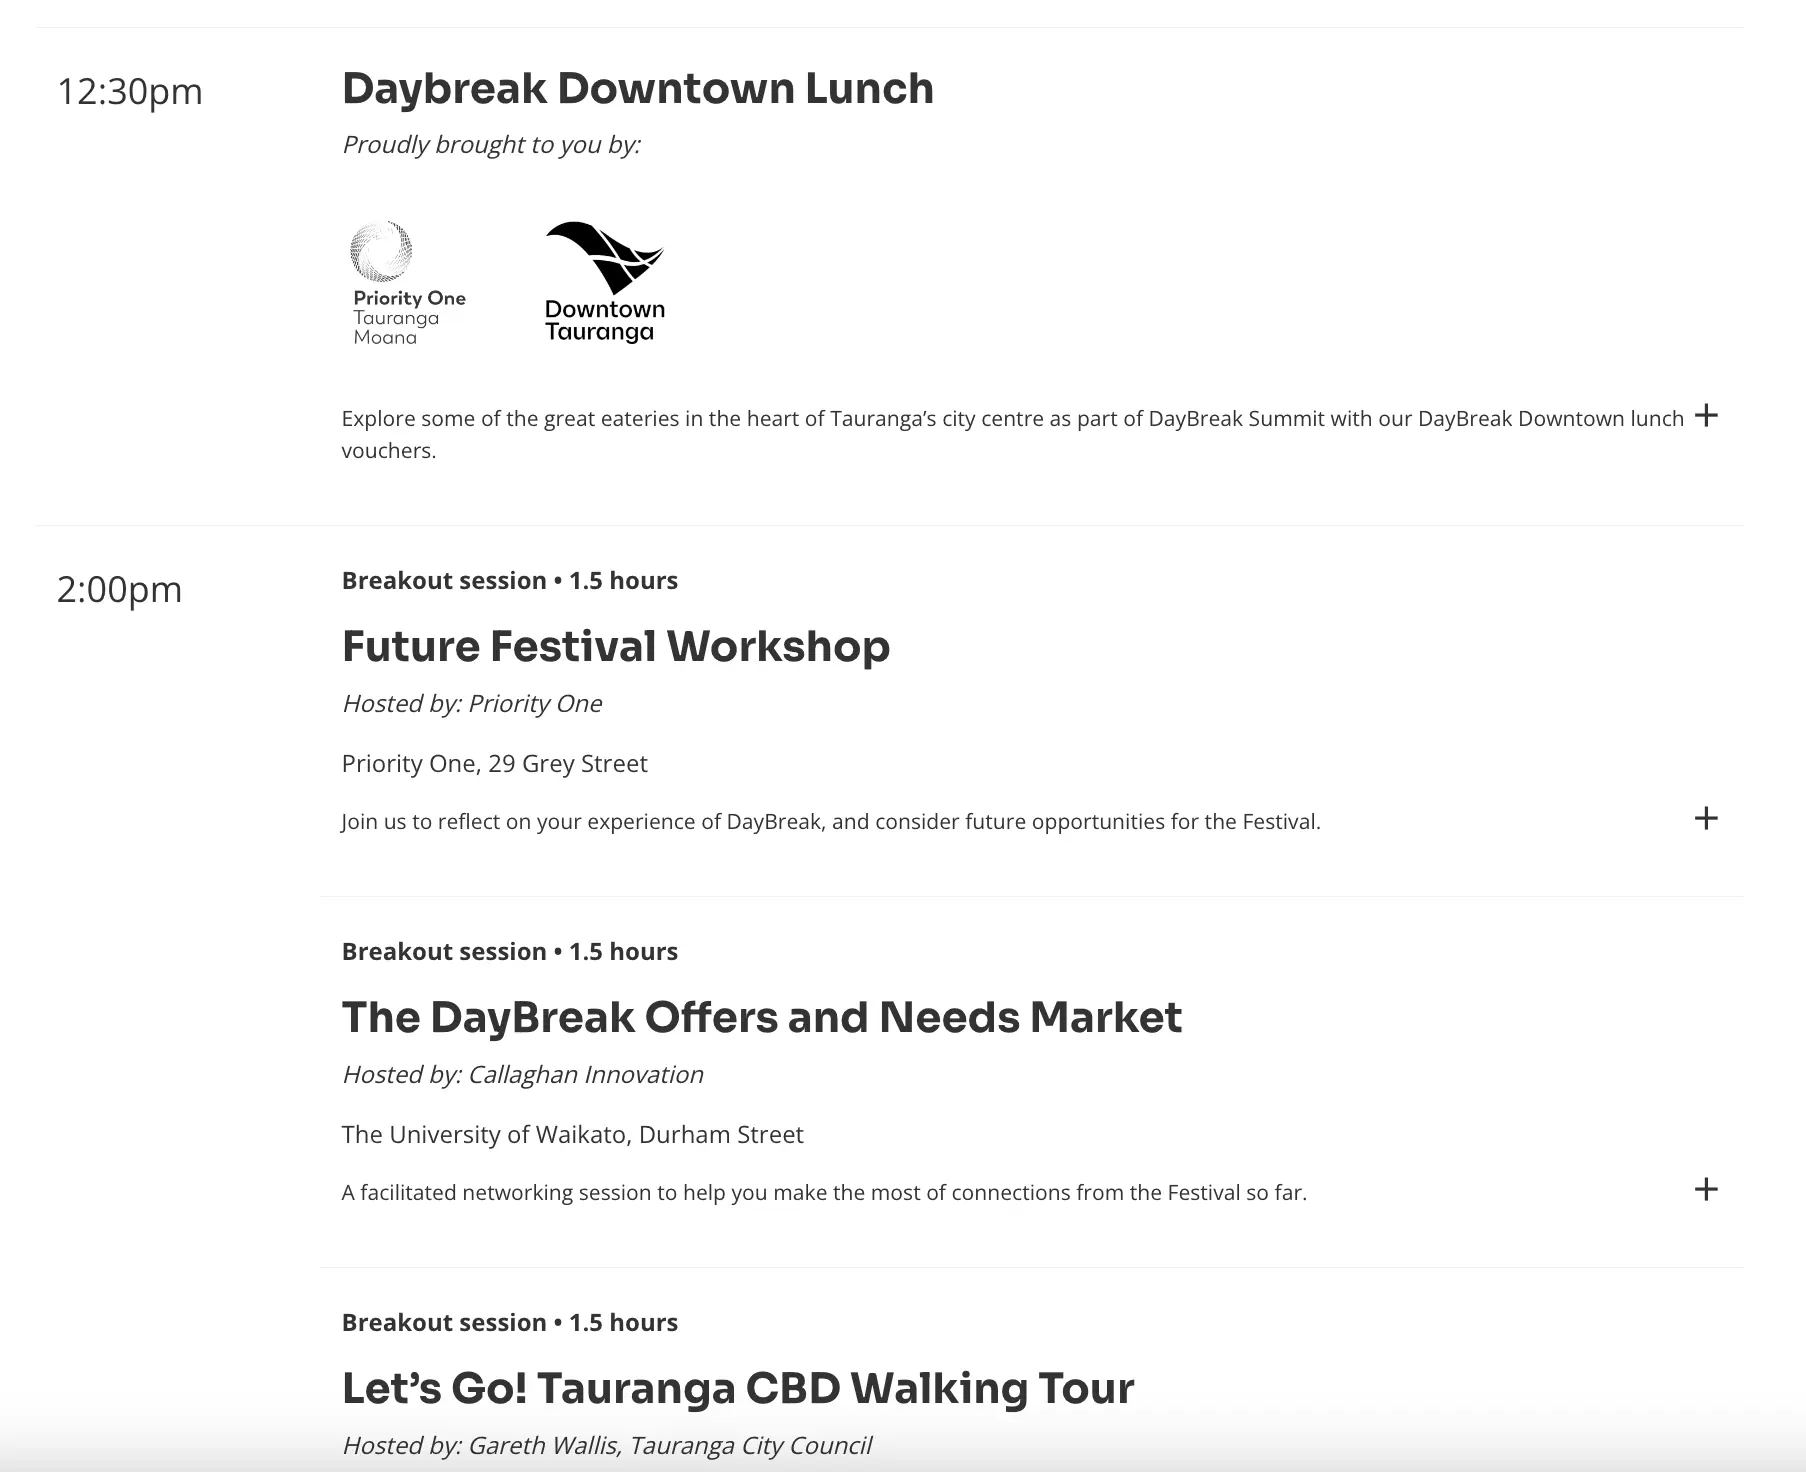
There is special formatting that needs to be done for the individual entries to achieve the concertina functionality. Due to these all being stored within the WYSIWYG - there are a couple tricks done to style.
As seen on the example page here and in the screenshots above - the following rules are followed:
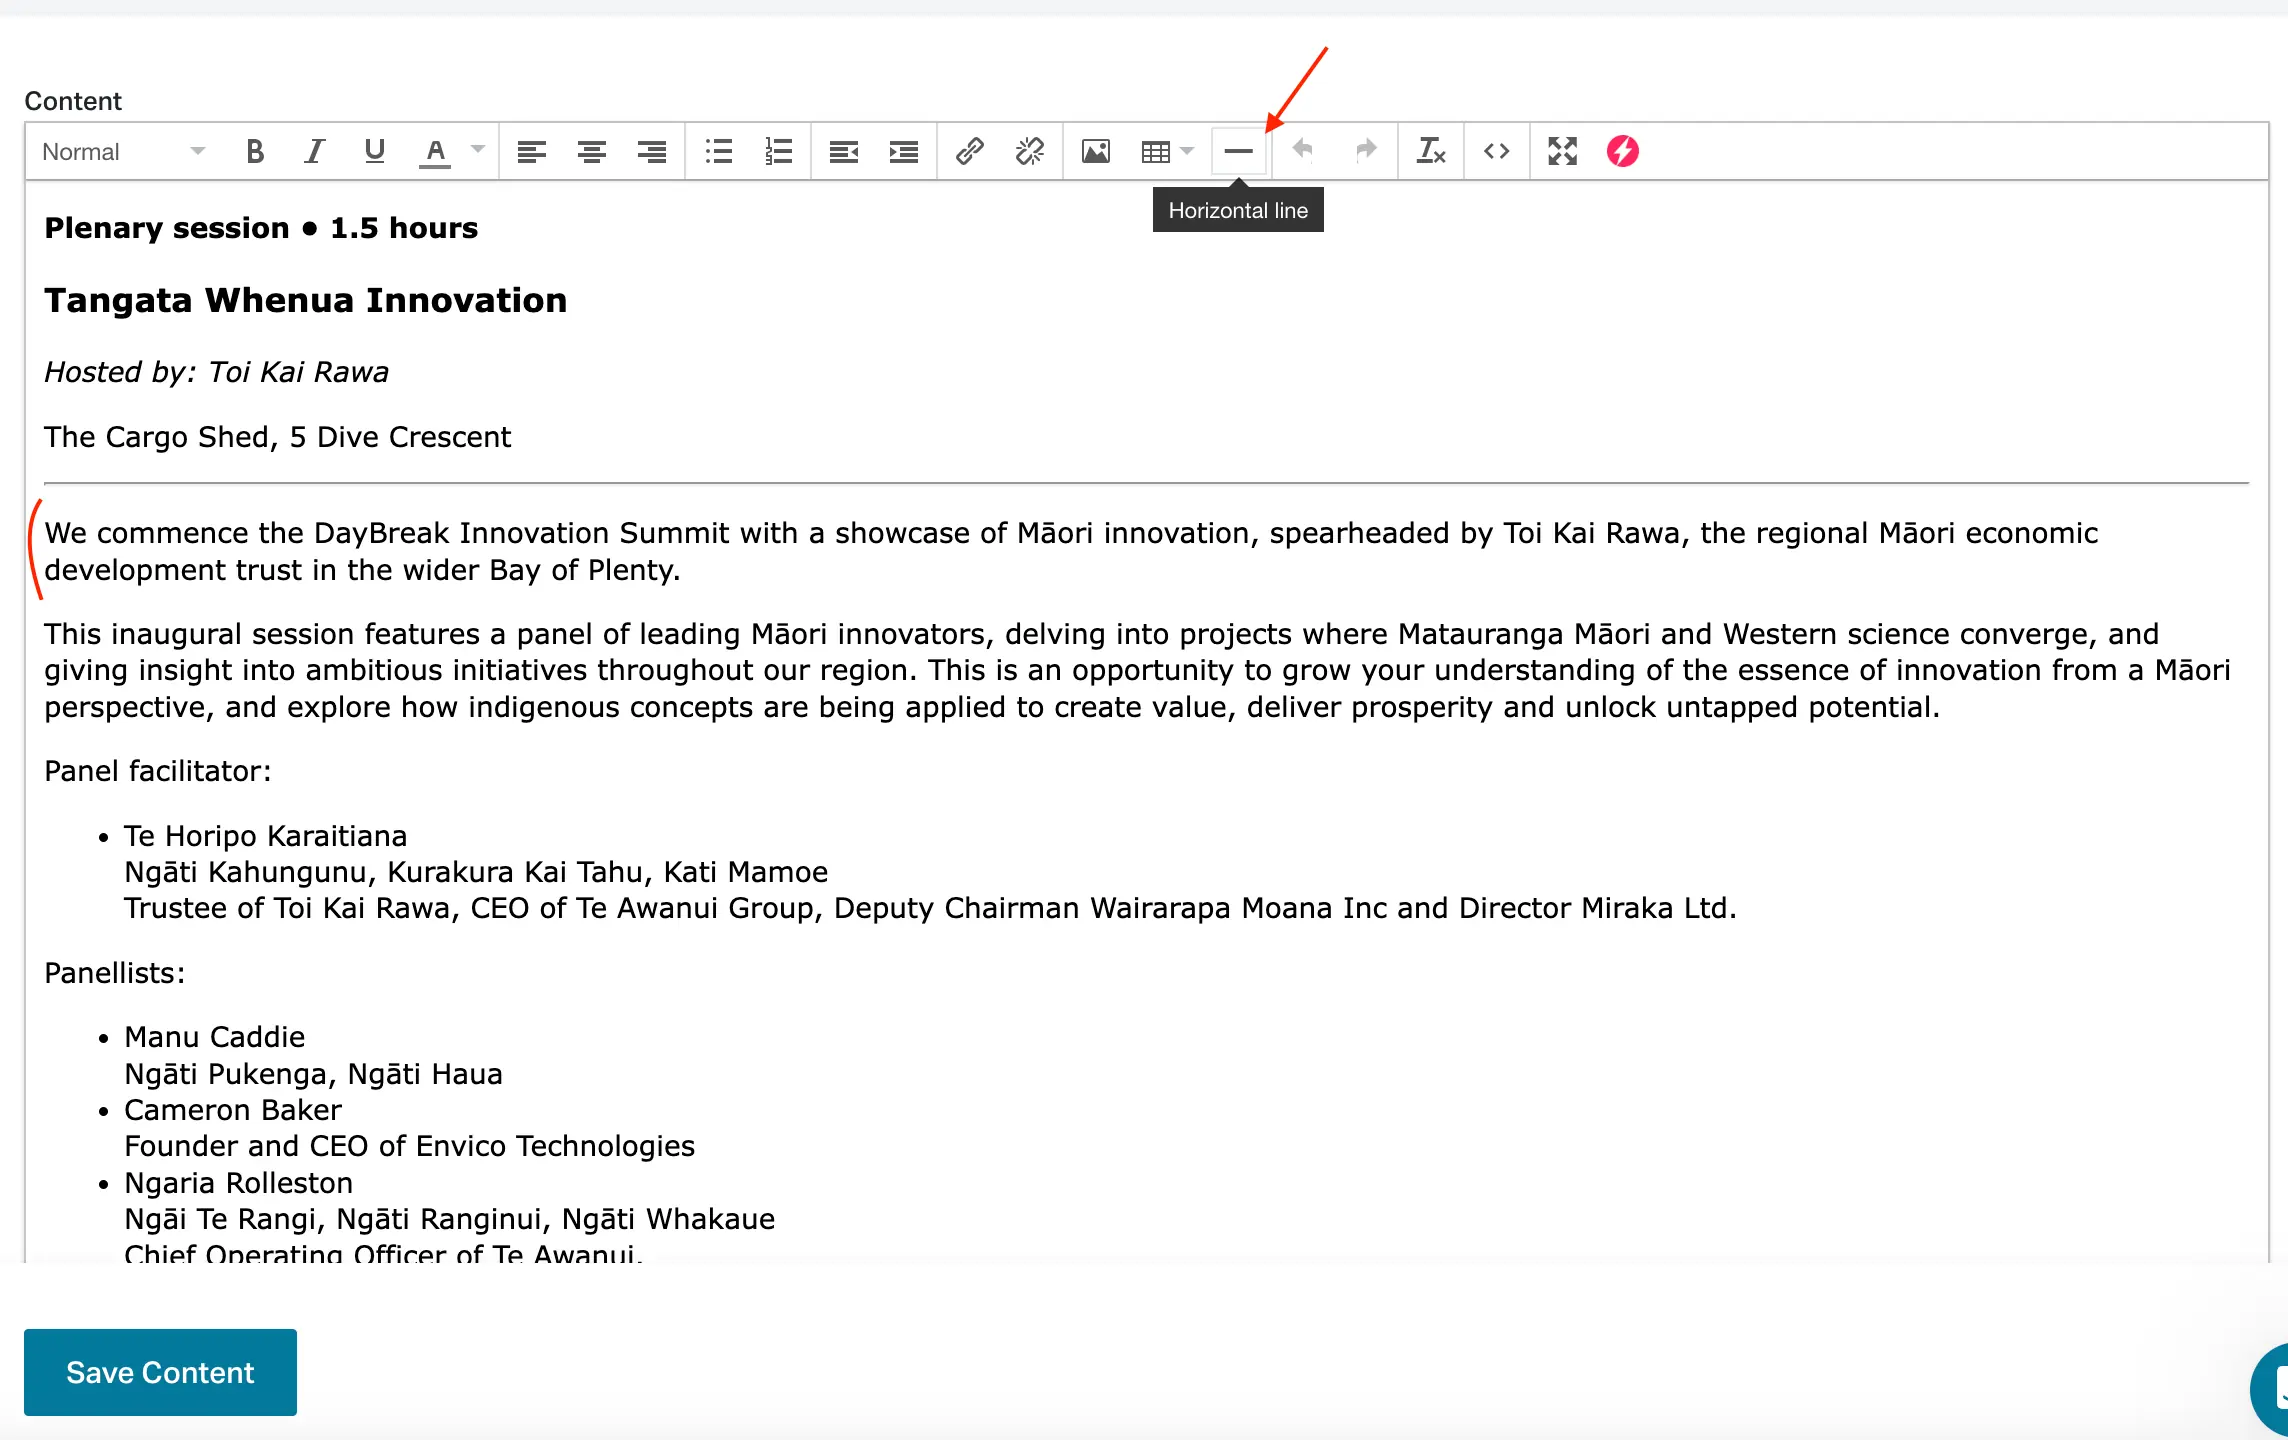
- The first line of the content is the session category and duration - which is bold text.
- The second line is the session name - which is styled as a Heading 3.
- The third line is the host info - which is italic text.
- The fourth line is the session location - which is normal text.
- Then to create a (expandable) description - add a horizontal line break - by clicking the "horizontal line button". Then you can add in the descripton - Anything in the first paragraph (usually just one sentence) will be visible by default. If you have two or more paragraphs - anything in paragraph 2 or later will be displayed within the expandable section.